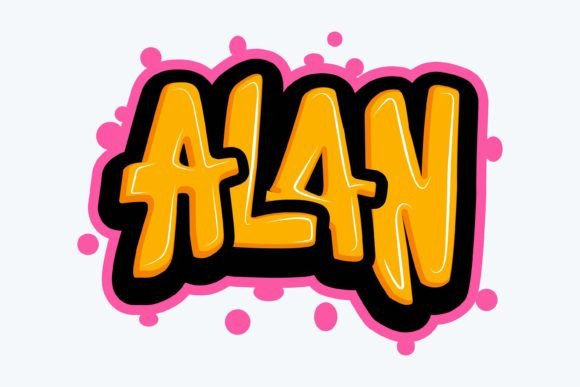
Alan: Graffiti Lettering for Real Projects
As a designer who’s spent years working with machine embroidery, I’ve seen countless designs come and go. Some are great for mockups but fall apart in real use. Alan is different. It’s a graffiti lettering design that feels like it was made for practical embroidery projects, not just digital showcases. Let me walk you through how it performs in real-life situations—and where it might need a little extra care.
The First Impression: Bold, Urban, and Ready to Stitch
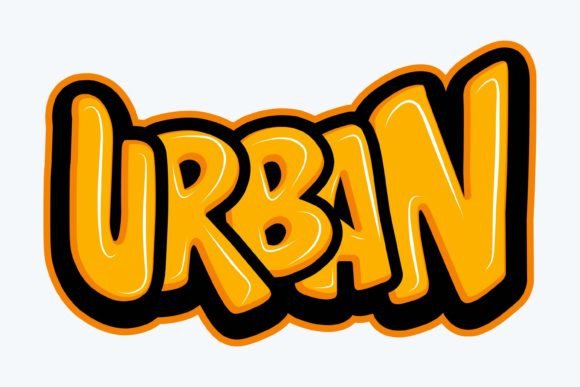
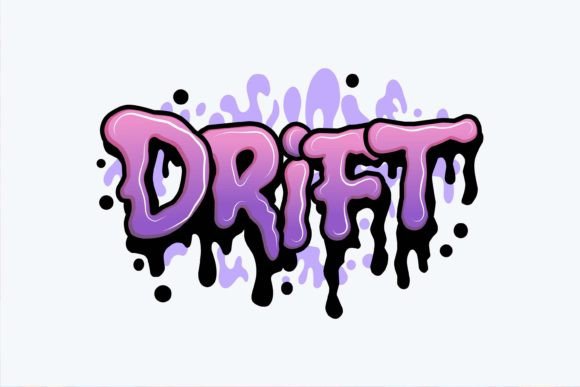
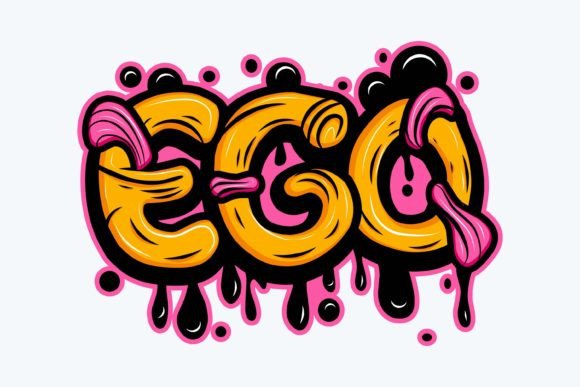
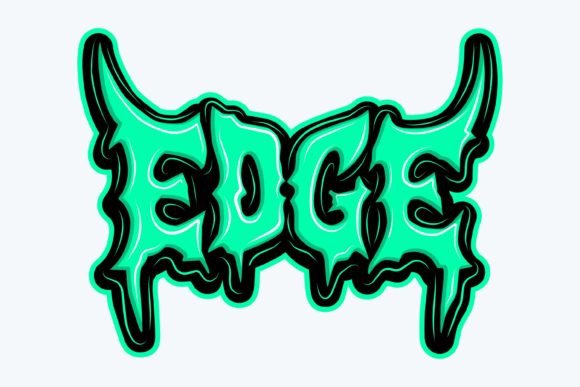
Alan immediately grabs attention with its graffiti-style typography. The lettering has a raw, edgy feel that works well on casual apparel, custom tote bags, and even baby onesies if you’re going for a modern, urban vibe. The layout is clean enough to avoid looking cluttered, but the details—like the sharp angles and textured strokes—add visual interest without being overwhelming.
This design isn’t subtle. It’s meant to stand out, which makes it perfect for statement pieces. If you’re looking for something that commands attention, Alan delivers. But that also means it needs careful placement and fabric choice to avoid looking too busy or unbalanced.
Real-World Embroidery Use Cases
Alan fits naturally into a range of projects. For example, imagine using it on a custom sweatshirt for a local café. The graffiti style matches the casual, hipster aesthetic, and the vector files make it easy to resize and adjust for different garment sizes. Whether you’re doing a small batch for a craft fair or producing a few dozen for an Etsy order, Alan adapts well.
It also works as an embroidered patch for jackets, backpacks, or caps. The design’s bold lines translate well into applique or satin stitch, giving it a strong, defined look. For baby items, like a onesie or a blanket, the design can be scaled down, but you’ll want to ensure the detail doesn’t get lost in smaller sizes.
One area where Alan shines is in holiday or seasonal projects. A graffiti-style design on a Christmas sweater or a personalized gift bag can add a unique, handmade touch that customers love. It’s also ideal for boutique branding, where consistency and visual impact matter.
Where to Be Careful: Fabric, Hoop Size, and Detail Work
While Alan is versatile, there are some situations where it may not perform as well. Small hoop sizes, for instance, could limit how much of the design you can stitch at once. If you’re working on a cap or a hat, you might need to break the design into sections, which can affect the overall look.
Fabric texture also plays a role. On thin or stretchy materials, the stitches might not sit as smoothly, especially if the design has dense areas. You’ll want to test it on scrap fabric first and use the right stabilizer to prevent puckering or distortion.
Detailed corners and tiny lettering can be tricky. If the design has intricate elements, they might not hold up well on dark fabrics or in high-density stitch areas. It’s important to check how the design looks in black and white mockups and compare it against both light and dark backgrounds before committing to a final product.
How Alan Affects Your Finished Product
When used correctly, Alan elevates the visual appeal of any project. Its boldness makes it instantly recognizable, which is great for brand consistency and customer engagement. Whether you’re selling on Etsy, running a craft business, or creating printable mockups for clients, this design adds value and professionalism.
But it also requires thoughtful execution. Poorly executed embroidery can make even the best design look cheap. That’s why testing the design on different fabrics and checking stitch density is crucial. If the design is too dense, it might cause thread breakage or uneven stitching. If it’s too sparse, it might look incomplete or washed out.
For handmade products, the quality of the final embroidery matters. Customers expect a clean, polished look, and Alan can help you deliver that—but only if you pay attention to the details.
Practical Designer Notes: What to Check Before Using Alan
Before jumping into a project, here are a few things to keep in mind:
- Test on scrap fabric to see how the design behaves on your chosen material.
- Check thread color contrast to ensure the design stands out against the background.
- Review stitch density to avoid issues with thick or thin areas.
- Confirm hoop size to make sure the entire design fits without needing to split it.
- Inspect small details to ensure they remain visible after stitching.
- Test in black and white to see how the design looks without color.
- Compare light and dark fabric backgrounds to ensure visibility and balance.
- Use proper stabilizer for delicate or stretchy fabrics.
- Check licensing before selling finished items or digital products.
These steps aren’t just about technical accuracy—they’re about ensuring your final product meets customer expectations and maintains the integrity of the design.
Final Thoughts: Alan Is a Strong Choice for the Right Project
Alan isn’t a one-size-fits-all design, but when used in the right context, it can be a powerful tool for embroidery designers, small business owners, and crafters. Its graffiti-inspired style adds a modern edge to t-shirts, tote bags, and patches, making it a great fit for urban-themed projects or personalized gifts.
If you’re looking for a design that’s both visually striking and functional, Alan is worth considering. Just remember to test it thoroughly and tailor it to your specific project needs. With the right approach, it can become a standout piece in your collection of embroidery files and design assets.